Pages

Showing posts with label Stew. Show all posts

Friday, August 15, 2014

Yummy garden lentil stew

Quite often I soak lentils with no plans. It just makes me happy to have the possibility of eating freshly cooked lentils without having a mal plan.

I am completely not a meal plan person.

When I think before sleeping about breakfast that is an exception. I am way to driven and drawn by improvisation that I just can't figure out what to make, even for a party. I just make it.

Yesterday I just made lentils, with some veggies from our garden. Did I mention we can't get past all that zucchini? When we think we are finishing someone gives us some. And tomatoes. So many great tomatoes that the fellow gardeners throw away in the compost heap. Onion greens. Why would anyone plant chives and onions if they are going to throw away the onion greens which are, I must say, so crazily similar I would find it hard to distinguish in a soup?

I recommend cracking the coriander with a mortar and pestle but if you are like me and don't have one (and I call myself a cook), put them in a chopping board and crack them with your knuckles or whatever works.

Garden lentil stew

Yield: 3-5 portions
Ingredients
  • 1 cup lentils (soak for a few hours, preferrably more than 6)
  • 1 tbsp coriander seeds, cracked
  • 3 carrots, chopped (a bit more than 1/2 cm, 1/4 in)
  • 1 yellow (or green) zucchini, cubed approximately 2.5 cm, 1 in)
  • 1 stalk onion greens (chives is also great), thinly sliced
Cooking Directions
  1. Cook the lentils with the coriander, until very soft but not yet mushy. Check at 20-25 mins (depends on your stove and your lentils.
  2. Add the carrots and stir.
  3. After two minutes add the zucchini, stir.
  4. Let the zucchini get soft. Add salt to taste.
  5. Add the onion greens, stir and remove pot from the fire.
  6. Let the pot sit, covered, for at least 15 minutes, a great way to blend taste a bit more in any stew.
  7. Serve, drizzle with plenty of olive oil.

Sunday, August 3, 2014

Veggies and pasta stew/soup


The delicious, comforting richness of tomato soup with pasta reminds me of one trip I had with my mother. I think it was the same one when I got the toilet clogged in the hotel and, failing to mention that it was my fault, we actually got an upgrade to a better room :-)

And when I was a child I only ate soup that had pasta in it. No meat. No veggies other than carrot and potato. And definitely no greens. Now my menu is quite richer (especially in veggies), since I have been experimenting with food for six years five of those vegetarian).

I love making things in huge pots; I think this can serve six!

I had put more liquid, I just wanted to show how pretty the veg=gies were :-)
Veggie stew

Ingredients
  • 2 cups canned chopped tomato
  • 3 carrots, chopped
  • 3 onions, peeled and chopped
  • 3 celery stalks, chopped (a bit of the leaves too)
  • 1 garlic clove
  • 1 bit oregano
  • 1 cup elbow pasta
  • 3 tbsp olive oil
Cooking Directions
  1. Fry onions and garlic with oregano in olive oil, in medium high fie, stirring frequently until onions get transparent.
  2. Add celery and keep frying until it starts having a stronger green color.
  3. Add carrot, fry a bit, add the tomato and some water (up to 5 cups to begin with).
  4. Wait for it to boil and add the pasta.
  5. When it boils well, check if there is enough water. To make a watery soup add at least 2 more cups hot water (like from thee tap).
  6. When pasta is al dente, remove and let it sit a few minutes (if you cook the pasta until soft it will be cooked even further since the pot is still hot).
  7. Serve :-)

Friday, June 6, 2014

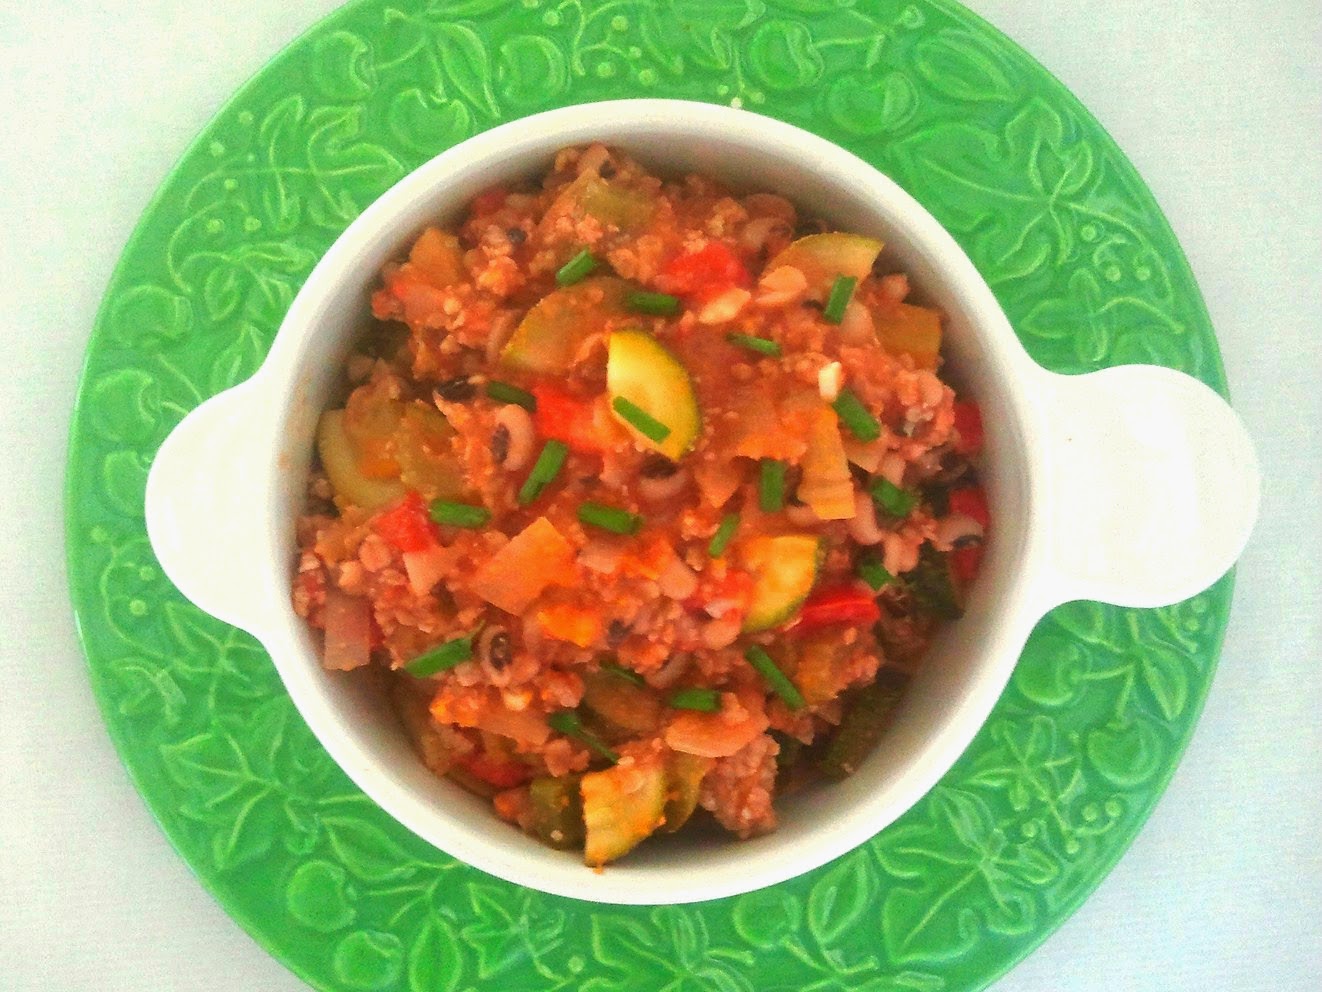
Black eyed peas healthy chili


I remember the first time I ate chili; we were starving after hitching to the Sfinks world music festival in Boechout, close to Antwerpen, and food was not allowed inside so we had to drop our bags at a nearby bar (not that we didn't at before coming in, but hitching can use a lot of energy!). There were wonderful food stalls and the most appropriate fuel there was chili (can't survive on pancakes!)

It was our last money and it was well spent :-) We had train tickets for after those two days partying and hanging out with supernice long-time-no-see friends of my husband and sleeping in the bushes after walking around in the middle of the night. We were planning to go picking cherries afterwards but it was raining like something broke up there and we didn't go (I'm glad, I'd pass out after arriving, I was really tired).

Royalty Free Stock Photography

We lived on a few pots of chili and that was a great fuel; in the morning I even tried to reproduce it with cans of foods but there is nothing that beats slowly simmred chili, where the flavors really brew and blend like there is no tomorrow. But there is always tomorrow, tomorrow's chili and tomorrow's party (even if that means being cozy in the couch with buttery popcorn). The chili you cook today is tomorrow's, because even though it is amazing and mouthwatering when freshly cooked, it is twice as much in the next day, or at least a few hours later. It was a little on the dry side but very tasty anyway! I will definately make it again.

Well, I love foods that bring sweet memories. I created my own version of chili (with a bit similar flavors but more and different veggies), after buying a package of black eyed peas in the new Turkish shop here. I have never eaten it before, so I had no clue what to do with it.


Here it is:


Black eyed peas healthy chili

Yield: 5 portions (at least)
Ingredients
  • 1 cup (dried)/2 cans black eyed peas
  • 1 big chili pepper or a couple of small ones (can always add chili powdr later)
  • 2-3 cloves of garlic
  • 1 tsp cumin (powder)
  • 2 medium onions
Cooking Directions
  1. If cooking the black eyed peas from scratch: Soak them for 6 hours or overnight, drain and rinse well. Canned: Jump to step 5
  2. Add fresh water, without salt otherwise they will stay hard (it will be added later in the chili)
  3. Bring the beans to a boil, and lower the fire. Add the pork to a pot and meanwhile chop all the veggies, keeping the tomatoes and courgettes/zucchinis apart..
  4. Let it simmer for half an hour to forty five minutes. When almost perfectly soft, drain
  5. Put the pork in a pot, stirring a bit to separate while it is over the fire in the lowest setting
  6. This will make a bit of the fat melt so you can use it to fry everything.
  7. When you see some of the fat melted in the bottom of the pot, add all the veggies, except for the courgette and tomato.
  8. Fry everything in medium high fire until the onion is soft
  9. Add everything else along with salt
  10. Adding an extra can of tomatoes will make it stewier
  11. Let simmer for at least 15 minutes, 25 is better
  12. If you want it spicier add extra dried chili
  13. Enjoy :-)
I got a little help to make a "studio" for my food photo shooting; I will get an extra lamp and looking forward to a decent camera too. It's a lot more of an detailed part of food blogging than I ever thought.